Five points to check in your clamp to help boost next season’s silage
27 October 2022
Looking to produce more milk from forage? Use our five point checklist to examine your clamp and see what lessons it can reveal to help you boost next season's silage.
_original.JPG?1590642753)
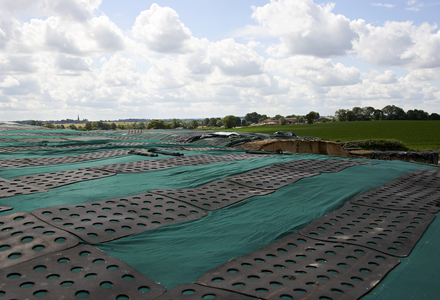
Don’t just view your grass clamp as a storage pit. Open clamps also provide an invaluable source of information, which can help improve your silage-making next year.
Why bother examining your clamp?
Your silage is fed for six months of the year or more and its quality and quantity can have a massive impact on a farm’s financial health.
Five point checklist for your clamp
1. How does the clamp look?
Begin by making an assessment of how tidy the clamp is. And be honest with yourself.
Is the face untidy and allowing air to get in? If so, correcting an untidy face is a fairly ‘easy fix’. If you do it now, it can make a big difference to reducing air ingress and surface wastage this year.
If waste is present deeper in the clamp, it may be sign of a poor fermentation. Which means the way silage is made may need improving in future.
Better clamp consolidation, correct use of a proven additive, and improvements in clamp sealing are all things that may need considering.
Inadequate consolidation is a big problem nowadays, because trailers often arrive at clamps in rapid succession, leaving little time to properly compact and roll the previous load.
While it could be that there was excess N present, with the price of N now it probably won’t be the case. Black lines in a clamp are usually from over rolling esp rolling in the morning before the first loads arrive at the clamp.
2. Temperature – how cool is it?
Another good indicator of the quality of the silage’s compaction is its temperature. It needs to stay cool.
If it’s heating up it’s a sign of aerobic spoilage, which is caused when yeasts and moulds feed on the silage in the presence of air. This action effectively ‘burns up’ its nutrients.
Unfortunately, problems with heating in the clamp won’t go away when the silage is exposed to more air at feed-out. You may need to consider an additive to reduce heating in the feed trough.
To prevent heating next season, better clamp consolidation and sealing may be required.
3. Smell – what does the silage smell like?
Another simple check is how the silage smells. Is it sweet or unpleasant?
If it’s unpleasant, it could be signs that a poor fermentation, caused by undesirable micro-organisms, has taken place. As with aerobic spoilage (heating), this means some of its feed value will have been lost. Even if you’ve done all the other ensiling steps well, if the fermentation hasn’t been effective, your other efforts may have been undermined.
Next season, take as many steps as possible to ensure only ‘good bacteria’ that produce the right type of fermentation dominate the clamp.
4. Feel – how does it feel?
Next, check the silage’s texture.
Slimy silage can also be a sign of excess nitrogen present in the grass at harvest, and can also be due to low sugars and a poor fermentation allowing undesirable microbes to take hold. These undesirable microbes have effectively started to break down what’s in the clamp.
As well as checking whether silage is slimy, check also whether it is leafier or more fibrous than you expected. If it’s excessively fibrous, it suggests the grass was cut too late and contains excess stem material – for example if cutting was delayed in pursuit of extra bulk.
The optimum cutting time for both yield and quality is just before grass starts heading. After heading, its digestibility falls by about 0.5% a day.
5. Moisture – how wet or dry is the silage?
Finally, assess the silage’s moisture content.
If it’s wetter or drier than expected, it may be a sign that your wilting technique needs re-checking. Wilting to 28-32% dry matter – and doing it rapidly – is the optimum for both minimising in-field losses and minimising effluent risk in the clamp.
If the silage is wetter than the grass that was originally ensiled, it can be another sign that the fermentation was slow and inefficient. That’s because a by-product of a slow fermentation is water. Ensiling with a proven additive will reduce this risk.
Next steps to consistently better silage.…
Rather than relying on memory when making these assessments, make a few notes of any good and bad points as you’re going along, and keep them safe.
Better still, take photos too as a visual reminder.
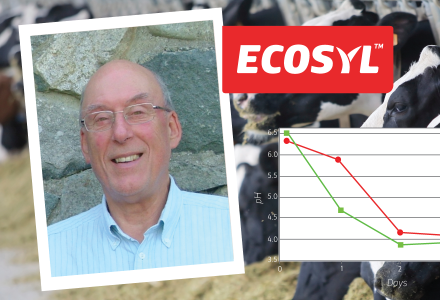
By doing this, you can prepare a simple action plan of any improvements necessary – such as re-assessing your cutting dates or clamp consolidation and sealing methods, or ordering a proven additive such as Ecosyl.
Find out how to test these key lessons in our YouTube tutorials.