Stop the rot eating into this winter’s silage stocks
28 October 2019
Once forages have been sealed in clamps there’s little or nothing that can be done to improve the fermentation quality. But you can minimise wastage and losses that occur from this point forward due to heating.
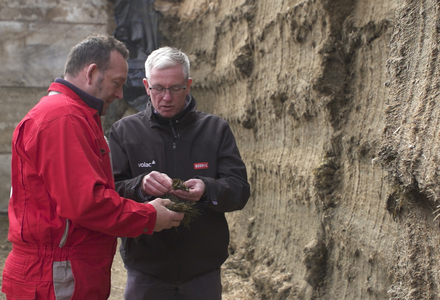
“The big enemy at this stage is air penetrating into the silage,” explains Peter Smith, one of Volac’s nationwide team of experts that helps farmers make better silage. “This kickstarts the heating process by providing oxygen to yeasts and moulds that are present in all silages, and fuels the process of aerobic spoilage.
Let this happen, and losses can easily amount to 10-20% of the dry matter in grass silage and maize silage and possibly more for wholecrop. Focus on minimising these losses,” he adds.
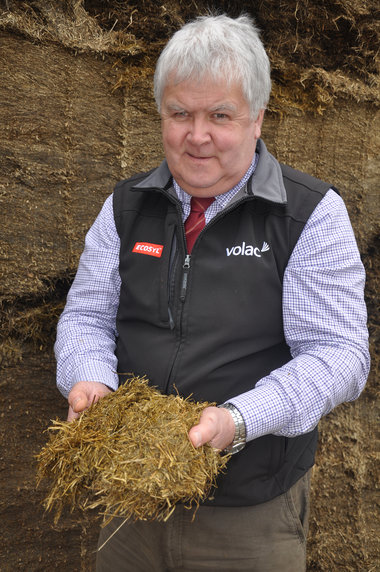
In addition, heating doesn’t just reduce the tonnes of dry matter available to feed, says Mr Smith, it also reduces the nutritional quality of the silage that’s left, as yeasts and moulds effectively burn up the nutrients.
Affected silage is also less palatable, so cows eat less of it, leading to reduced animal performance. Plus, moulds can produce mycotoxins. So the potential to produce the maximum litres of milk per tonne of silage – which is what you want for an efficient business – can plummet.
By preventing air “activating” the yeasts and moulds, Mr Smith says they can’t get to work. By contrast, if air does penetrate the silage, you can be chasing heating and wastage back through the clamp all winter, he adds.
Clamp down on consolidation losses
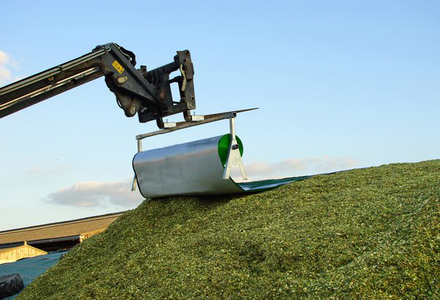
“The top and sides of the clamp are most vulnerable to air ingress, because they are the most difficult to consolidate.
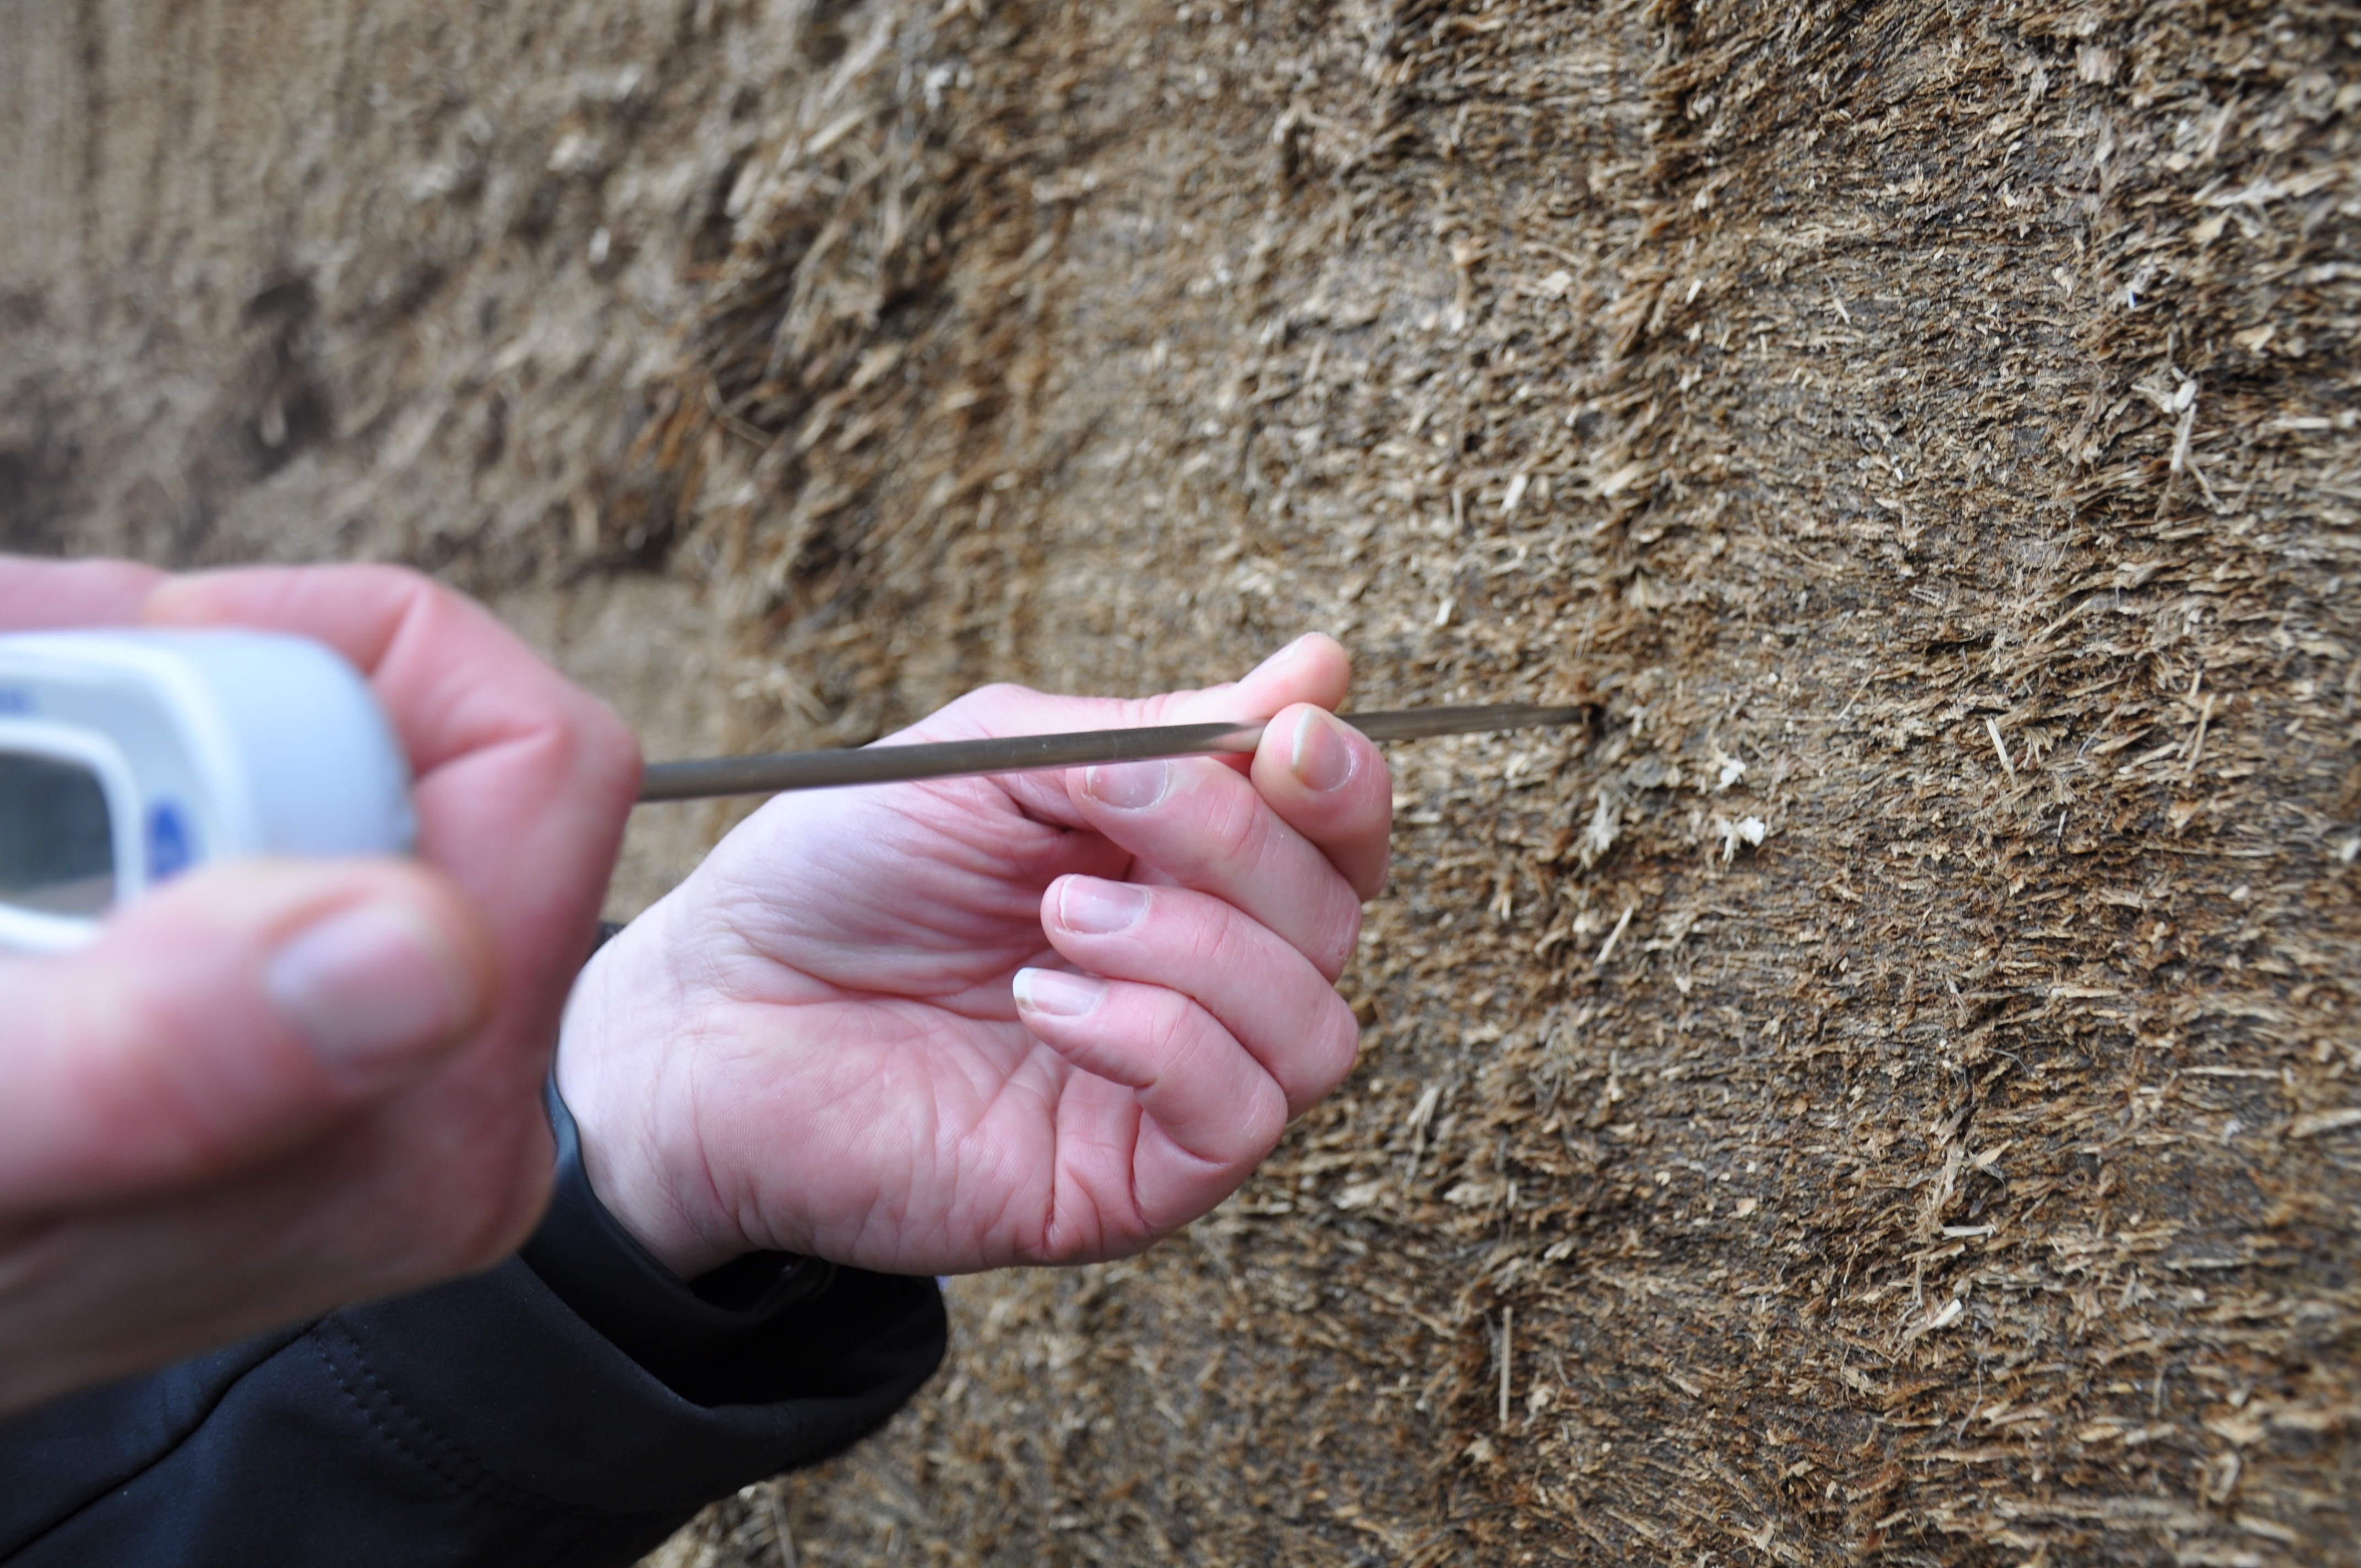
“Even if there aren’t obvious signs of heating, losses can still be occurring. Try checking consolidation by inserting a thin metal probe into different parts of the clamp face. If it’s easy to push in, chances are air will be penetrating, so you’ll know to be on your guard.
If silage is only heating at the top of the clamp, consider adding more weight on top, such as big bales. Over time these will compress it down. If you can’t add weight over the entire clamp, put it towards the front to create a line of compaction. Then, move this back as you progress backwards. Don’t be tempted to just put an extra layer of tyres on top. Their weight won’t be sufficient,” he adds.
Also once clamps are opened, Mr Smith says don’t pull the top sheet back down over the face, as this traps a layer of warm, damp air beneath, further encouraging yeast and mould growth. “If you must pull the sheet down on maize clamps because of starlings, only do this during times that starlings are active.
Managing your clamp at feedout
“Also at feedout, it is imperative to keep a smooth clamp face to minimise air ingress. The extent to which you can do this depends on your method of silage removal.
Dragging silage out with an ordinary grab can leave the face untidy and loose. A shear grab will give much cleaner results – but it must be properly maintained. If knives aren’t sharp, especially with drier forages, the pressure of the blunt edge pushing down through the silage will simply lever the forks below upwards. This loosens the face around the forks, creating deep channels that allow air in.
“The best method to leave a smooth face is probably a block cutter or a silage defacer, although these aren’t commonly used.”
A further technique, says Mr Smith, is to work across the clamp quickly from one day to the next during feedout, so that each newly-created face is exposed to air for the minimum time.
“Ideally, this is achieved by having narrow clamps in the first place, so you work back through the clamp rapidly,” says Mr Smith. “If you haven’t got narrow clamps, consider taking out only half-depth grabs so that you move across the face twice as fast. If you do this, it’s even more important to keep knives sharp on shear grabs, because the forks aren’t penetrating as far.
“If you can, try also to prevent rain driving onto the face and ‘washing’ away the beneficial acid that is preserving the silage, again increasing the risk of it spoiling and heating up. If silage gets above 30 degrees C, the speed of heating can rapidly increase.
“Also, remove old silage that has fallen on the clamp floor immediately, to minimise mould spores blowing about and infecting the face. In short, keep the clamp area scrupulously clean.
At feeding, if you notice that silage coming out of the clamp is relatively cold but then heats up rapidly after it’s been mixed with air in a mixer wagon, it may be time to consider applying a silage stabiliser, such as EcoTMR.
Containing approved preservatives, this inhibits yeasts and moulds to keep the silage fresher for longer. In testing, it has delayed heating by up to 48 hours and reduced nutrient losses by up to 50%. It is easy to use. You simply dissolve it in water and apply during ration mixing,” dedicated silage advice area. he adds.
Find out more about EcoTMR or download the full product brochure today.
Finally, if you have an option to feed from either end of a clamp, avoid feeding from any southerly-facing ends, Mr Smith says. Sun shining on this open end will cause the temperature to rise and increase yeast and mould activity, he concludes.
For more top tips and advice from our silage experts, explore our dedicated silage advice area.